Are you tired of having TPU filament entangled half print?
Look no further, I will guide you trough the daunting task of setting up your 3d printer properly.
- Calibration and setup of printer
- Types of nozzles best suited for TPU
- Flow rate and Feed rate
- Extruder modifications/upgrades
- TPU Bed adhesion
- TPU requirements
- Slicer settings
- Calibration and setup of printer
In order to print TPU successfully on my ender 3 I had to carry out a number of tweaks and calibrations as listed below:
- Extruder E-Steps calibration
- Realignment of whole X-gantry if not assembled properly
- Z-axis, Z binding issues
- Proper belt tightening
- Setting BLtouch Z-offset setting properly
- Calibrating XYZ steps using using a dial gauge
- Install an Anti-Backlash nut
- Bed leveling calibration print test
There are plenty Youtube video’s available which demonstrate how to carry these tweaks/calibrations way better then I could ever explain.
2. Types of nozzles best suited for TPU
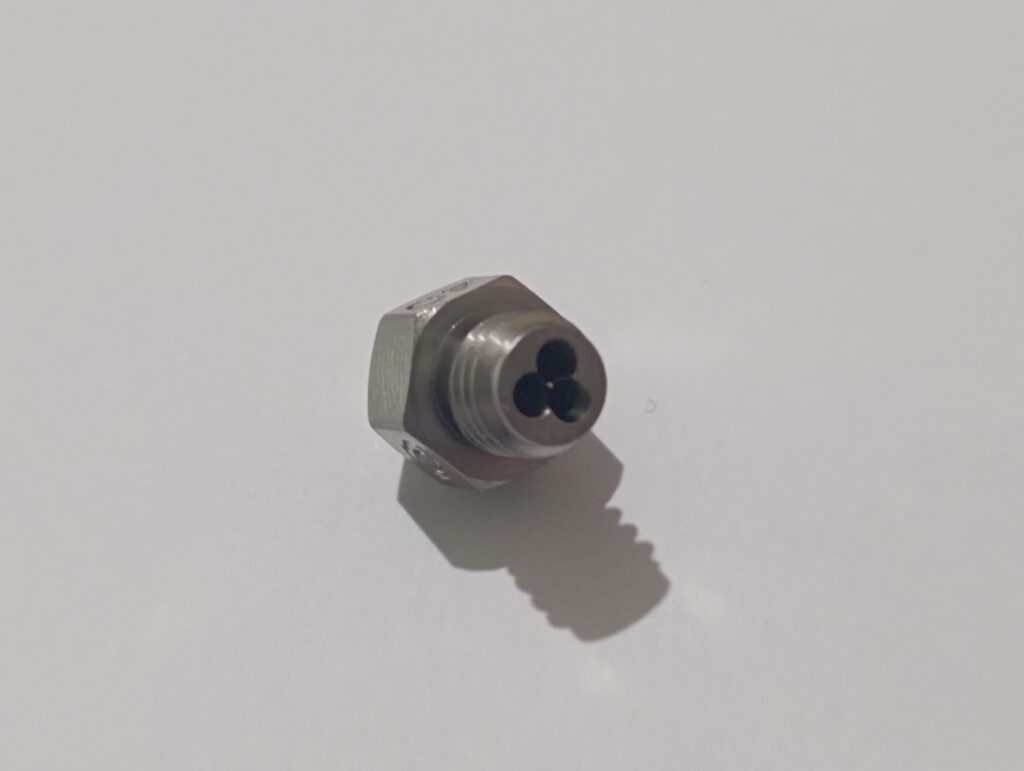
The material, structure and coating the nozzle is made of is important, since it determines how good the flow rate and feed rate of TPU is. I upgraded my standard 0.4mm brass nozzle to a 0.4 Bondtech CHT nozzle, which allowed me to print TPU way faster. Nickle plated copper nozzles are also well suited for printing with high speeds, feed rates and flow rates.
3. Flow rate and Feed rate
Flow rate determines amount of plastic printer extrudes at a given time, while feed rate calculates speed for all axes even extruder axes.
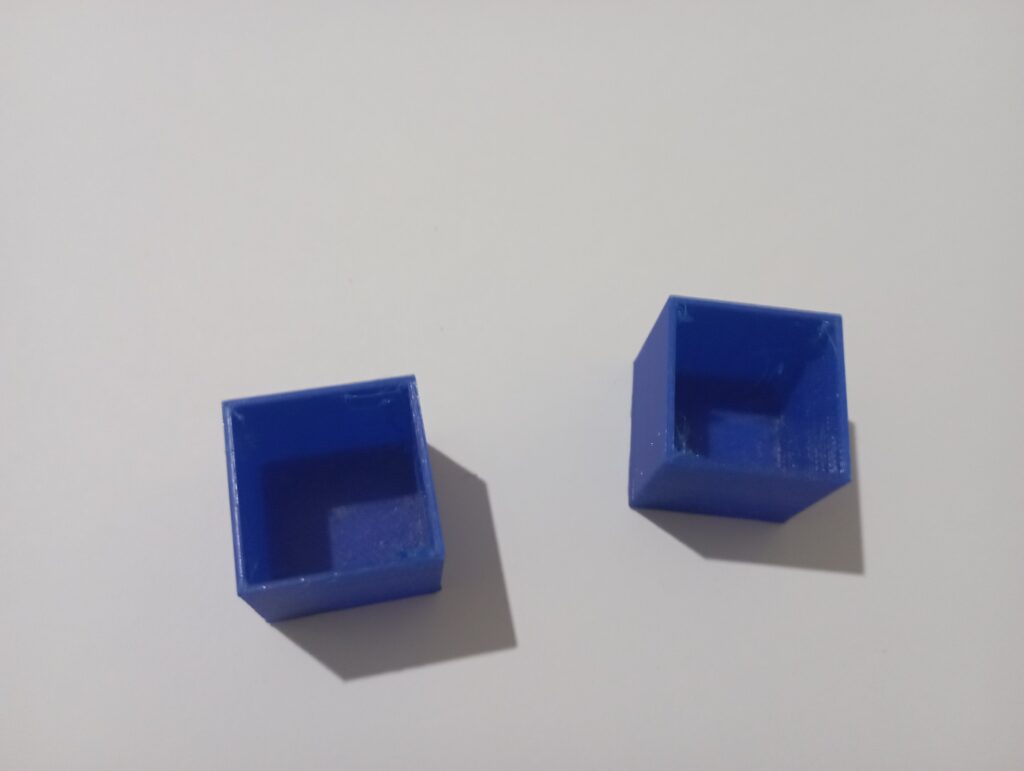
To determine the flow rate of a new TPU filament, I print a test box with 2 walls and measure the thickness of the walls. If the printed test box is inaccurate one can change the flow rate until the print is accurate. I use 3 settings from Cura instead of messing with the flow:
- Horizontal expansion
- Hole horizontal expansion
- Initial layer horizontal expansion
To determine the feed rate of your printer, print a tower test with different print speeds at different layer heights. The print test should show where the nozzle is extruding well and where it is under extruding. Where under extrusion occurs, is the limit of your printing setup, as already mentioned this can be improved by upgrading the hotend, nozzle and extruder. Generally a stock ender 3 has a TPU print speed of around 25mm/s.
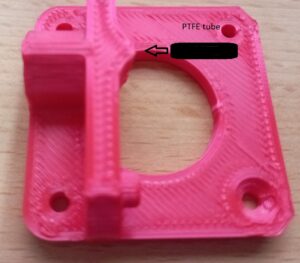
4. Extruder modifications/upgrades

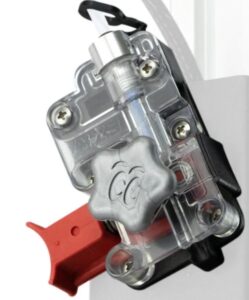
The extrusion seat as shown above can be downloaded from Thingiverse and printed easy with PLA. Once printed and installed, insert a small piece of PTFE tubing, so TPU has nowhere to escape and entangle mid print.
While this upgrade reduces entanglement while printing TPU, the best solution is to either upgrade to a EZR extruder or to a direct drive setup.
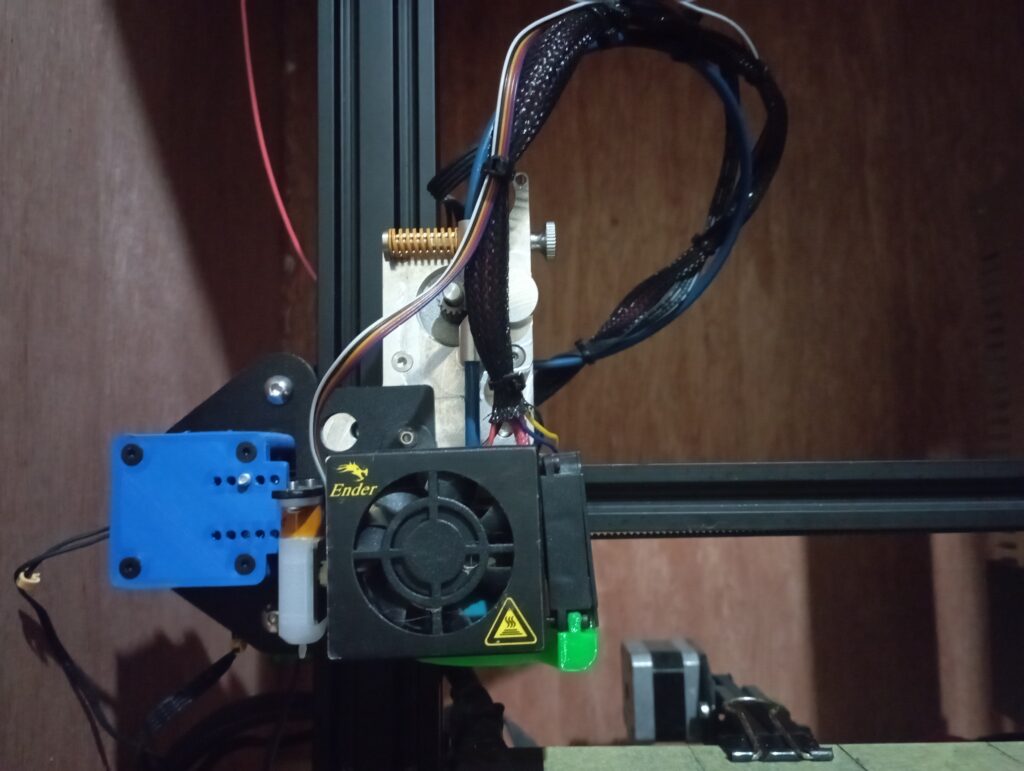
Direct drive setup is better suited to print more flexible TPU then the standard shore hardness of 95A. In my current setup I am using the micro swiss direct drive extruder with a Bondtech CHT nozzle which allows me to print TPU at faster speeds.
5. TPU bed adhesion
When using a glass bed, it is important to clean it with soap to remove dirt, previous glue and oils left from your hand as you handled the bed. Water with soap gets rid of all the contaminants on glass beds, on PEI sheets on the other hand, I would just use isopropyl alcohol to remove contaminants.
Heatbed temprature depends on what the technical data sheet of your filament requires. I use Extrudr TPU Flex Medium and according to their technical data sheet it requires 50-60 °C
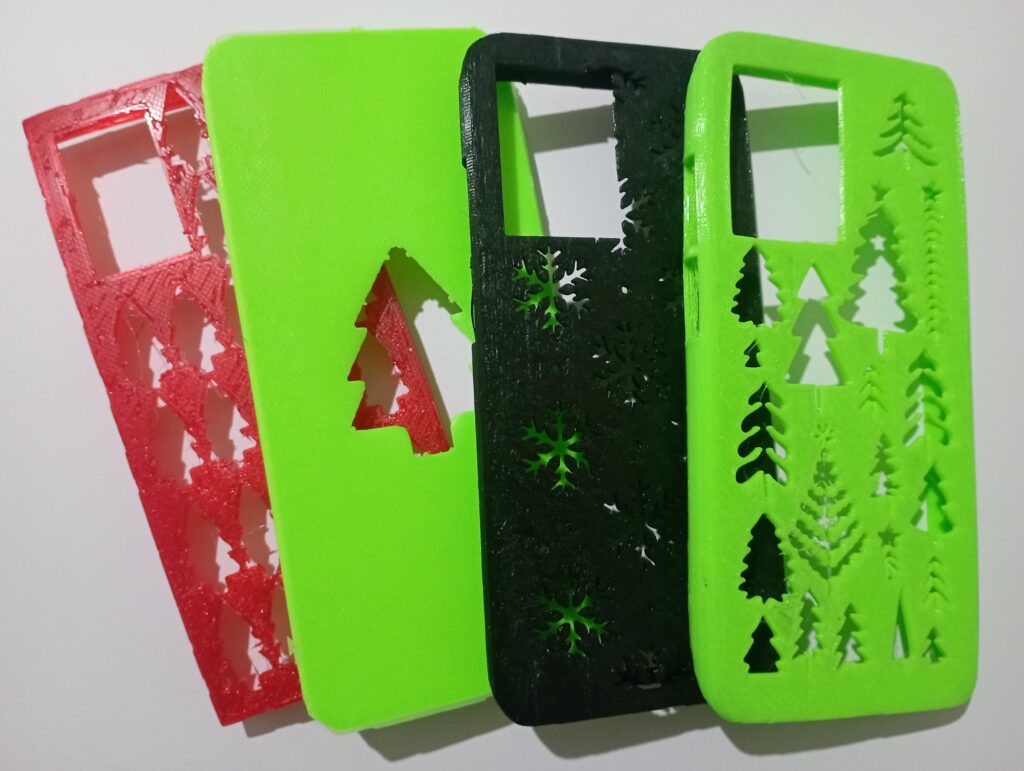
If you carried out the calibrations well and have proper bed leveling, small TPU prints should adhere to glass bed well. Larger prints like phone cases generally end up warping during winter, which is why I recommend to use glues like magigoo pro flex or use blue tape.
6. TPU requirements
TPU is very hygroscopic, meaning it will absorb moisture from atmosphere fast. This means that you either need a filament dry box to keep TPU dry during printing or use a food dehydrator to dry TPU which absorbed too much moisture.
7. Slicer settings
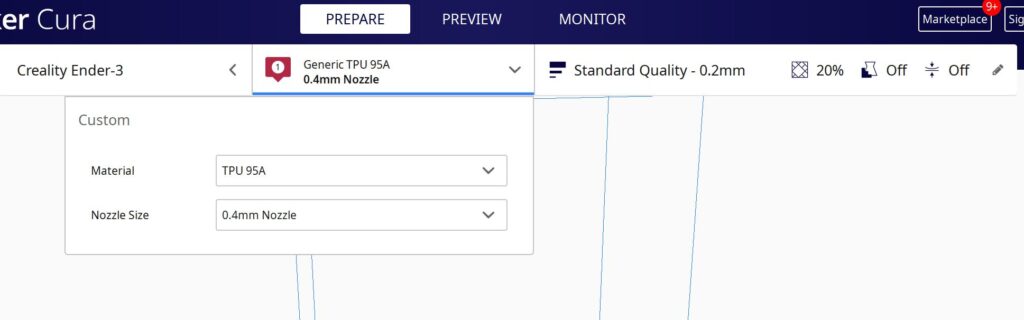
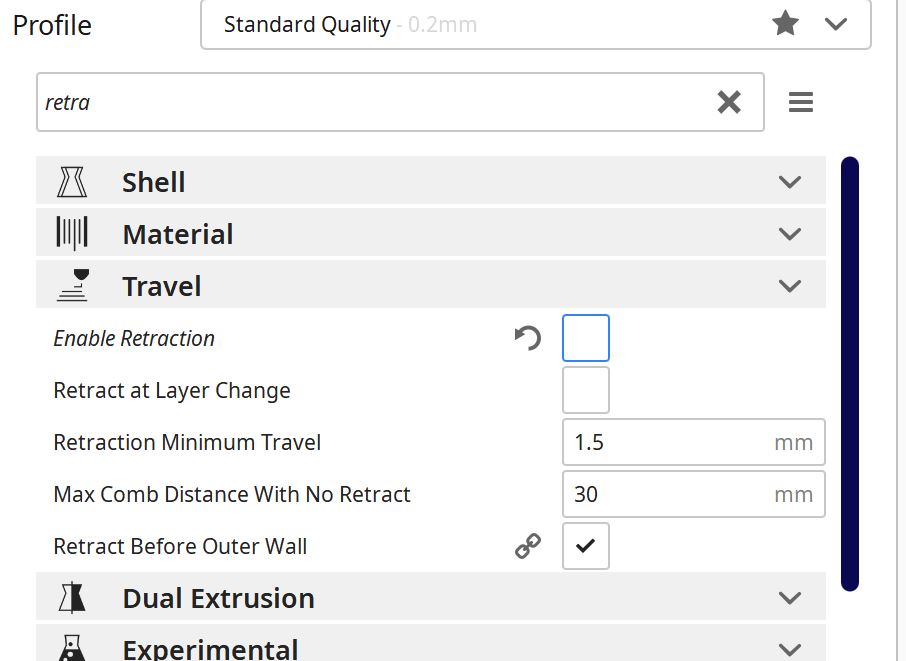
I use the default TPU 95A profile Cura provides, however I change the speed according to the feed rate of my printer as already mentioned.
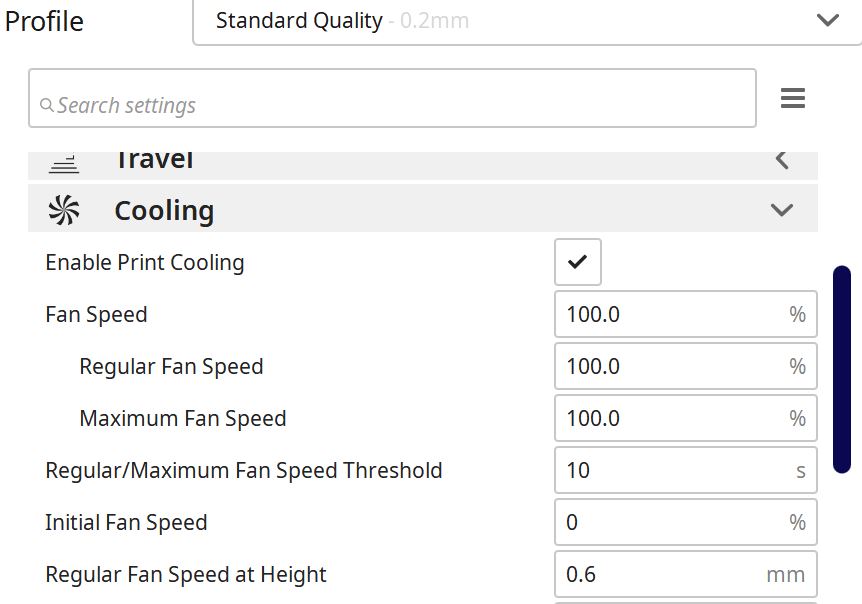
Since I print TPU at temperatures around 225-240 °C with speed of around 50-65 mm/s, I enable the cooling fans to 100% as if I am printing PLA. With this speed and temperature, TPU will not cool that fast, meaning it will still be melted (expanded) when the nozzle puts the next layer. This creates backpressure at the nozzle which is the opposite of what you need when printing TPU.
The most important setting of all is retraction. For TPU I just turn retraction off. If the 3d printer is well calibrated and maintained it will not produce a lot of stringing. There will still be some stringing but it should be minimal and removed easy with post processing.
Another problem you might encounter is bed leveling not enabled. To solve this issue from Cura open settings, printer, manage printers, then click on machine settings.
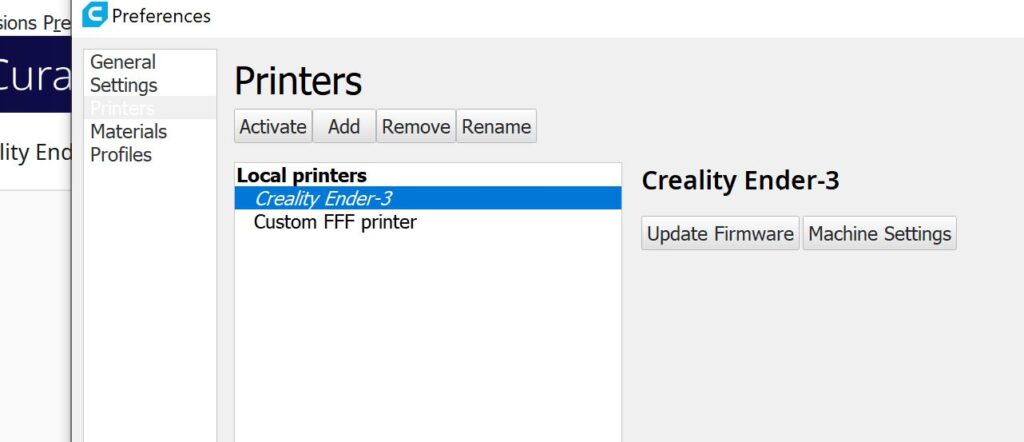
In the start G-code after “G28 ; Home all axes”, type “M501;” and under M501 I also type “M420 S1;”.

M501 is used to reload last saved bed leveling from EEPROM while M420 S1 is used to enable bed leveling. Found the commands trough marlin G-code index, which is filled with useful commands for various uses.
Being able to print TPU is a useful skill to have since this material offers a lot of practical uses like phone cases, watch straps, custom insoles and much more.